Single sign-on (OIDC and SAML)
6 min read
Single sign-on lets people use the identity they already have. Onscryn supports OpenID Connect and SAML. This page walks through the settings in the order the dashboard asks for them.
Before you begin
Single sign-on is plan-dependent. You will need an owner or admin role, and access to your identity provider and to your domain's DNS.
1. Verify your domain
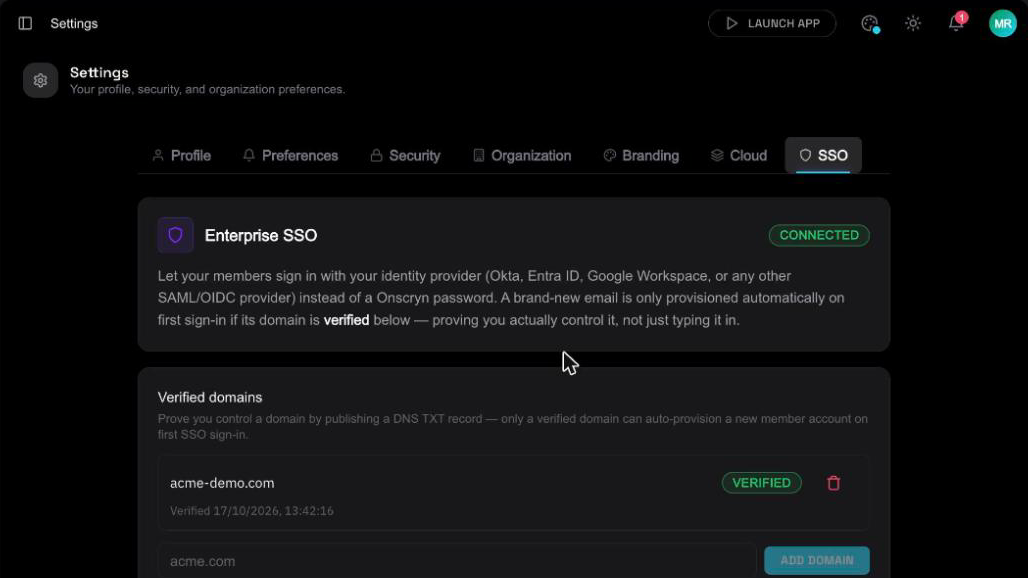
In Settings, open Enterprise SSO and add the email domain your employees sign in with, for example acme.com. Onscryn gives you a TXT record to add to that domain's DNS. Once the record is visible, the domain shows as verified. Verified domains are listed so you can see and remove them.
2. Choose a protocol
Pick OpenID Connect or SAML. The dashboard then shows the values to give your identity provider:
- For OpenID Connect, the redirect URI.
- For SAML, the ACS URL and the audience (service provider entity ID).
3. Enter your provider's details
Create the application in your identity provider with those values, then copy its details back into Onscryn.
- OpenID Connect: the issuer URL, the client ID and the client secret.
- SAML: the identity provider's issuer or entity ID, the sign-on URL (entry point) and the X.509 certificate.
4. Set the default role and optional role sync
Choose the default role for new sign-ins. If you want the identity provider to decide roles, turn on role sync: enter the claim name and the group name that maps to each role.
5. Test, then roll out
Sign in from a private browser window with a test account before you tell everyone. If something is wrong, Disconnect SSO is available in the same place to undo the connection.